Soy Yogurt
I’ve been making my own home made no sugar soy yogurt for a couple of years. I do this, quite honestly, because there really is no good low carb, unsweetened soy yogurts out on the market – I am trying to avoid refined sugars and I seem to be allergic to whey protein, so regular plain yogurt doesn’t work for me.
This seems to be the fastest, most reliable way I get good quality, creamy yogurt each time.
Here’s what I use to make my yogurt:
- I tend to use EdenSoy brand Unsweetened Soy milk – it’s got 120 calories per 8 ounces, and 12 grams of protein per serving. Spoiler alert: I usually only have 6 ounces for each serving, so I usually get 5 days from one carton of milk. I have used other unsweetened soy milks like WestSoy with good luck as well.
- I also use Yogourmet Yogurt starter. I used to get this from Whole Foods but now I get from our local natural foods market (PCC). You can also get this from Amazon.com (obvs).
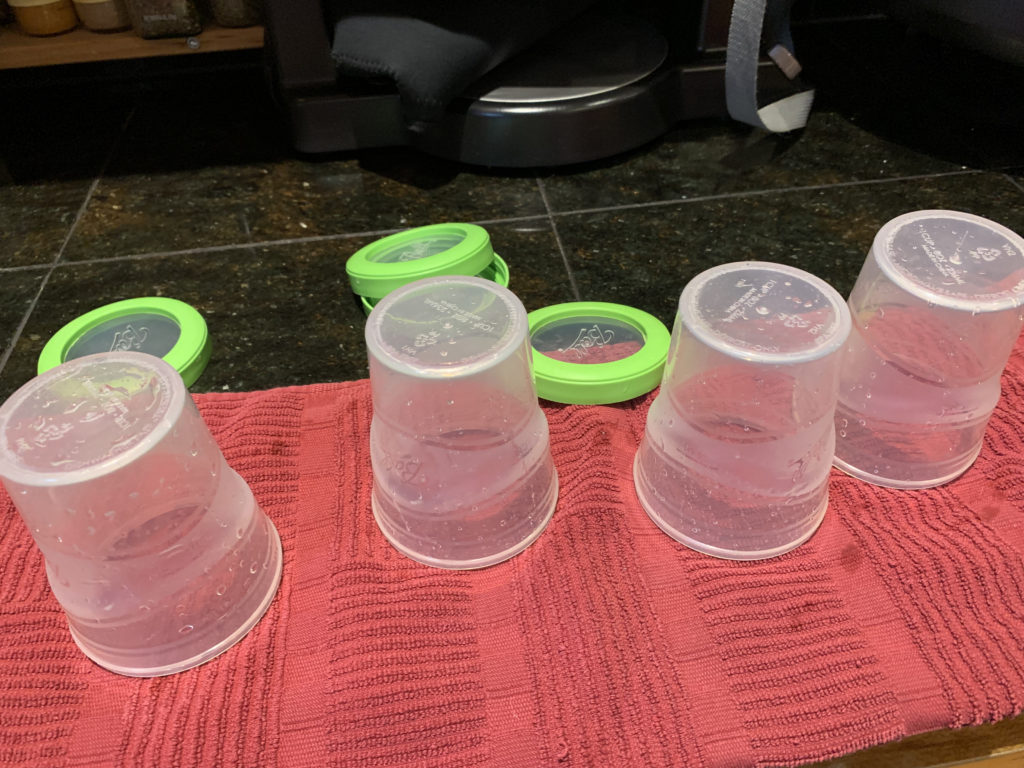
- I also purchased Ball plastic pint freezer jars – these work great and store 8 ounces each. I used to use Ball Glass jars but found the bottoms were cracking off after too many uses.
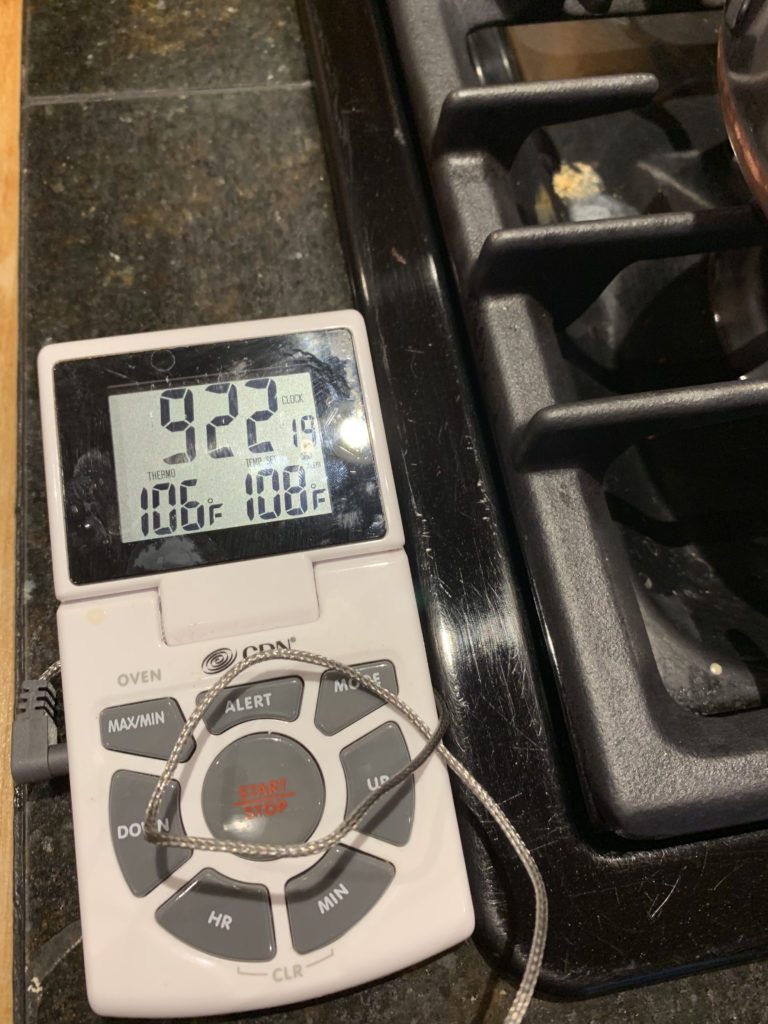
- A thermometer with an alert for both high and low temperatures. I bought the CDN DTTC-W Combo Probe Thermometer, Timer & Clock, but I’m not a fan. There’s no way to turn it off so it wastes batteries which means it shuts off at irritating times and you have to reset the low and high. But I do like how it works other than that, and it’s saved me time – without the alerts for I would let the milk get too hot or too cold when I wasn’t monitoring it constantly.
Here are the steps I follow. It takes about an hour to prep this and most of that is cooling the milk back down, and about 5 hours for the yogurt to incubate.
First I heat the milk to about 180 degrees. This batch got a little hot, but it doesn’t seem to affect the taste.
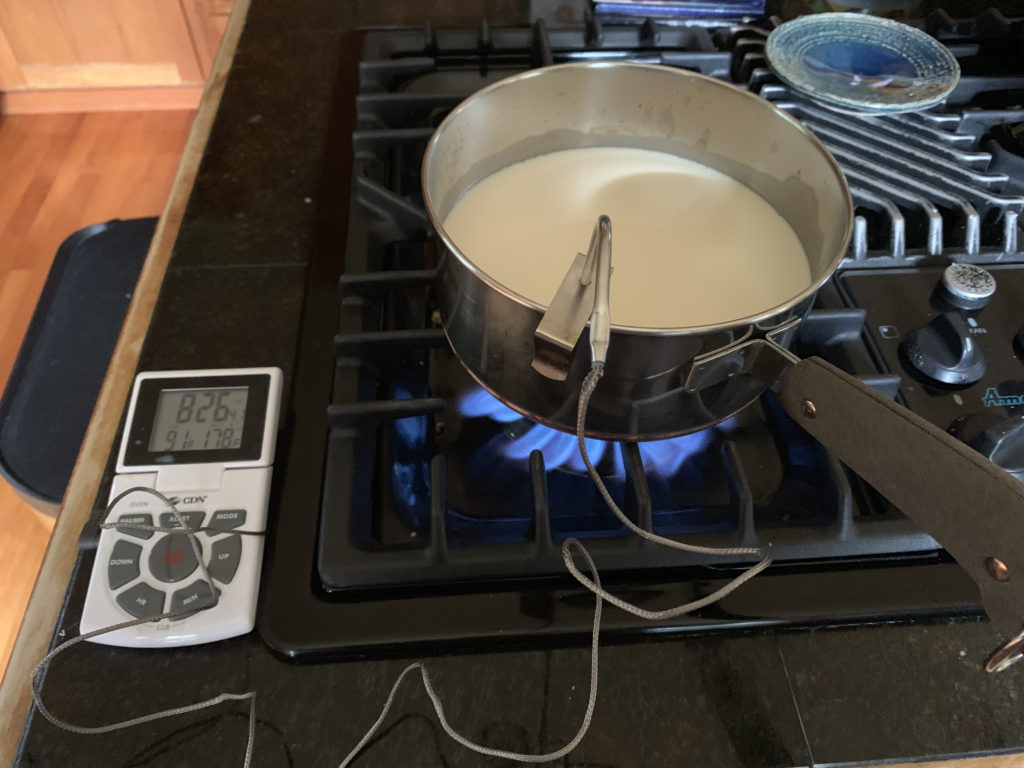
Heating the soy milk to 180 degrees Fahrenheit 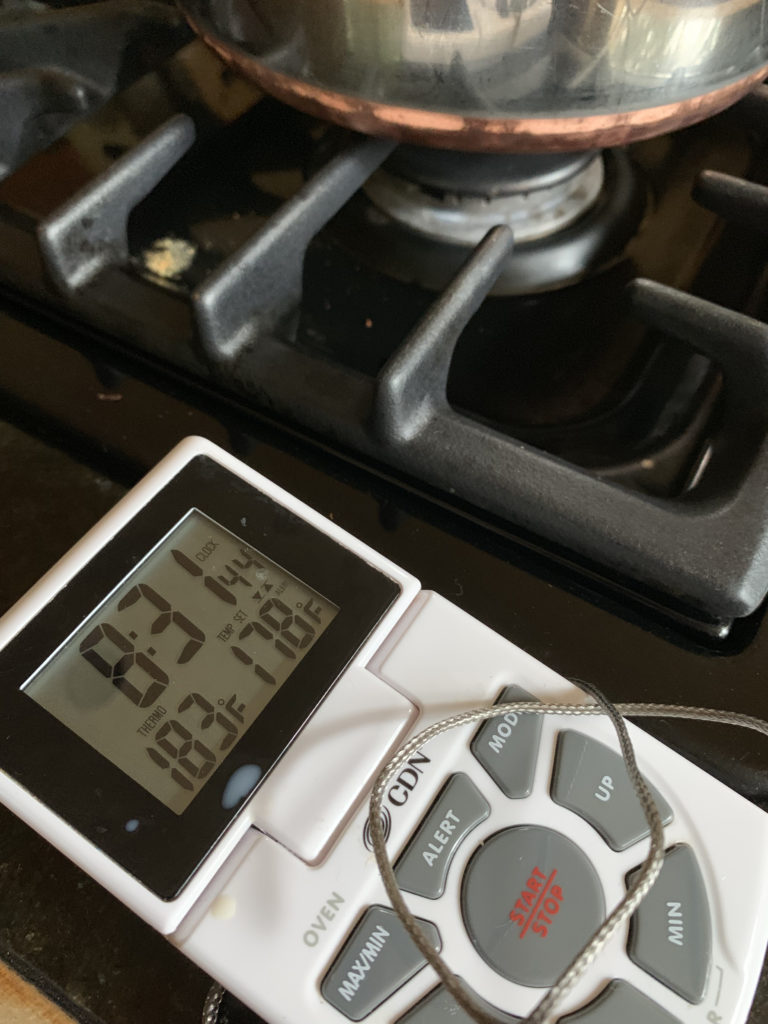
Heating the soy milk
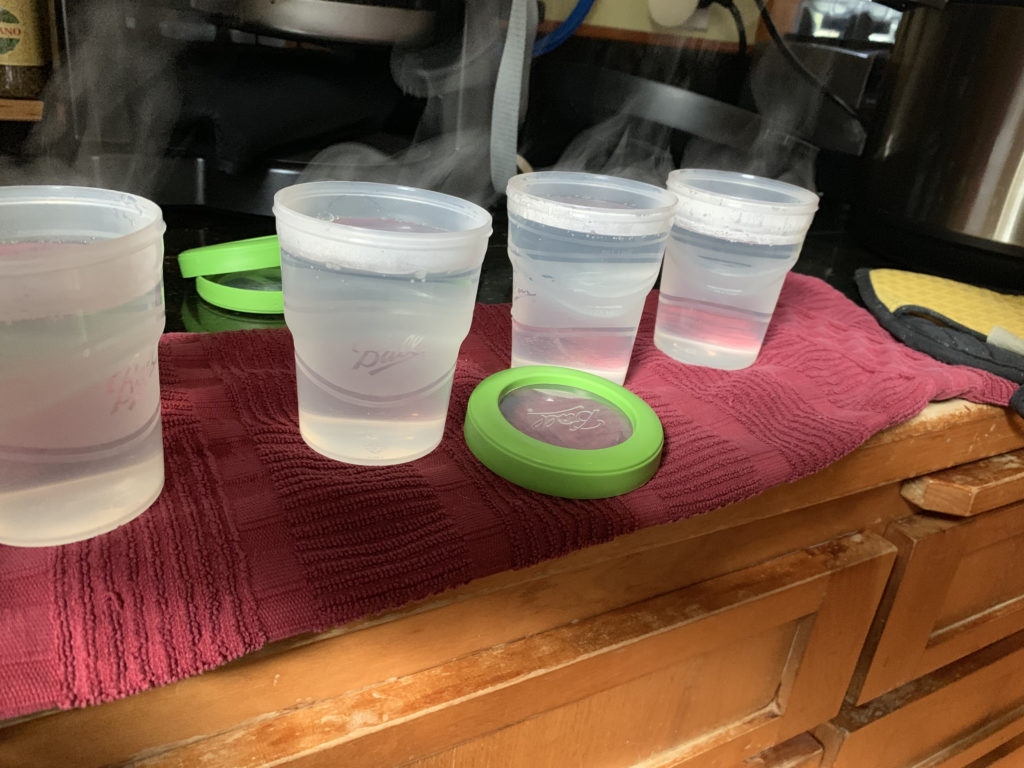
I have a bit of a sensitive stomach and because I keep the yogurt for 5-6 days, I’m not taking chances. So while I’m heating the milk I also boil water and “sterilize” the jars by pouring water in them for 5-10 minutes, then pouring the water out and letting the jars dry out a bit. It would probably be fine just to use these directly out of the dishwasher too.
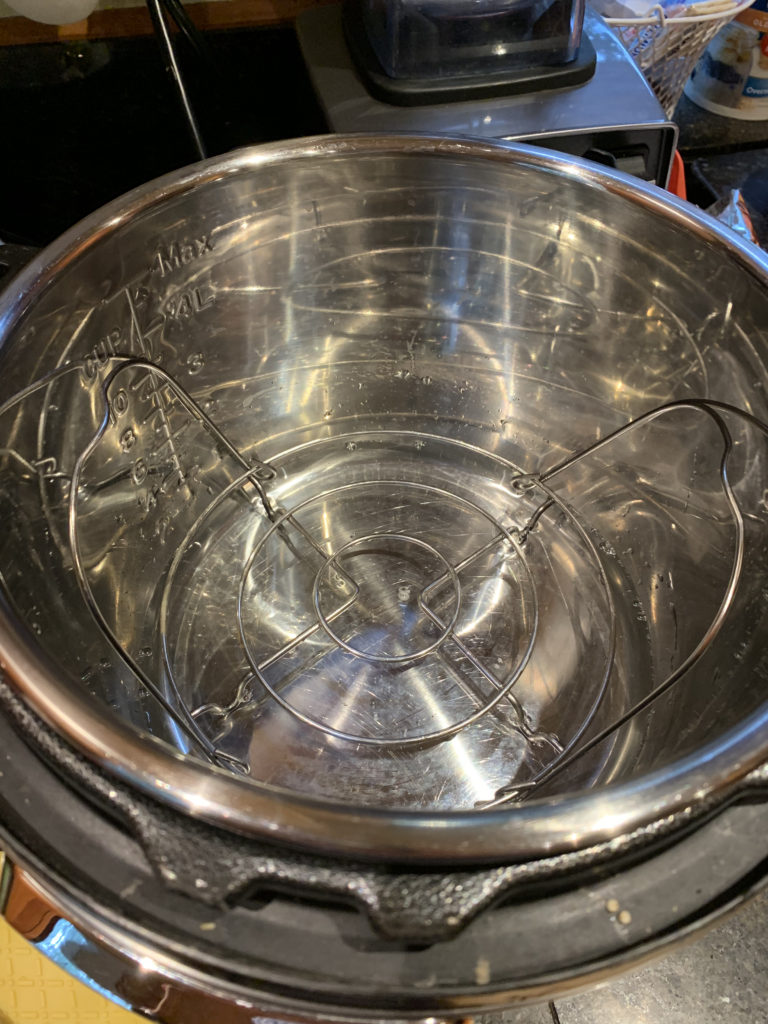
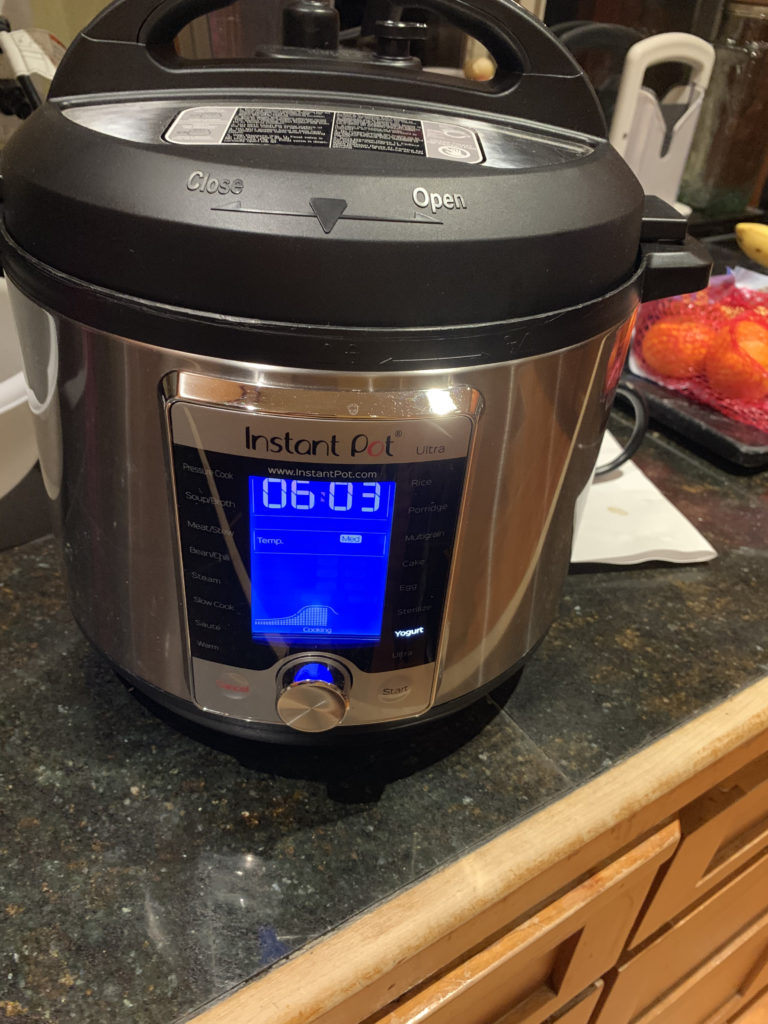
I pour one of the cups of water into my Instant Pot with the wire trivet in there. NOTE: before I had the Instant Pot I’d put all four cups in a slow cooker and put the lid on it to keep it warm and use the slow cooker to incubate the yogurt.
Once the low temperature has been achieved…
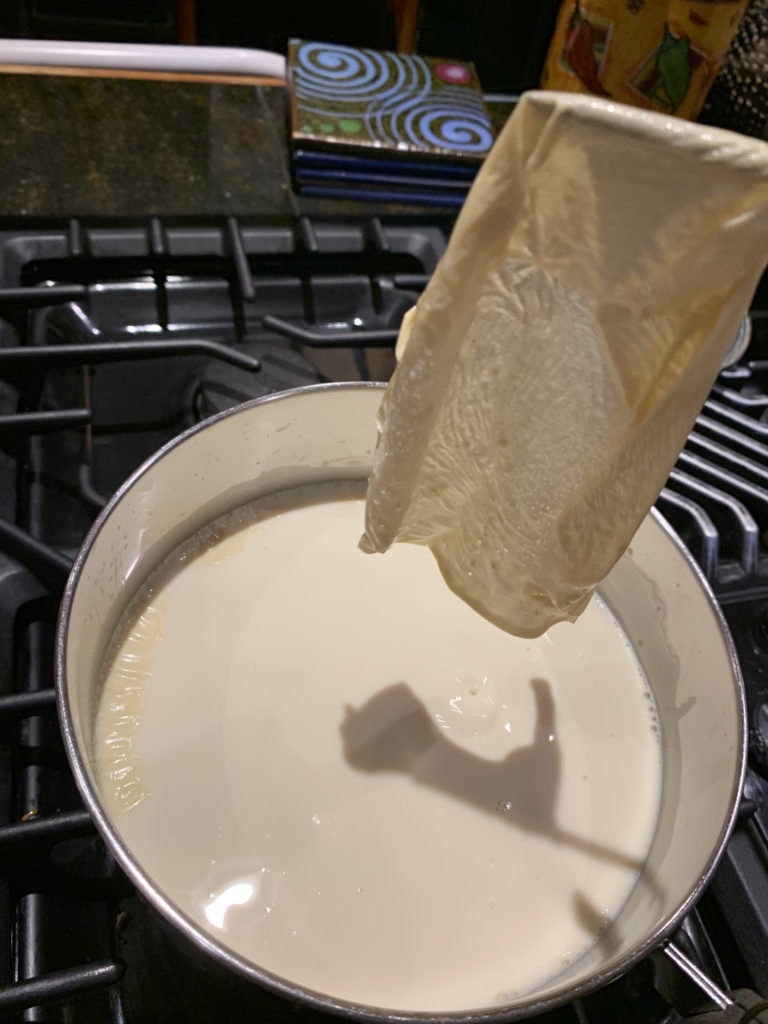
I pull off the skin that has formed on the top of the soy milk. Note: I do not know if this happens with regular milk but I suspect it does.
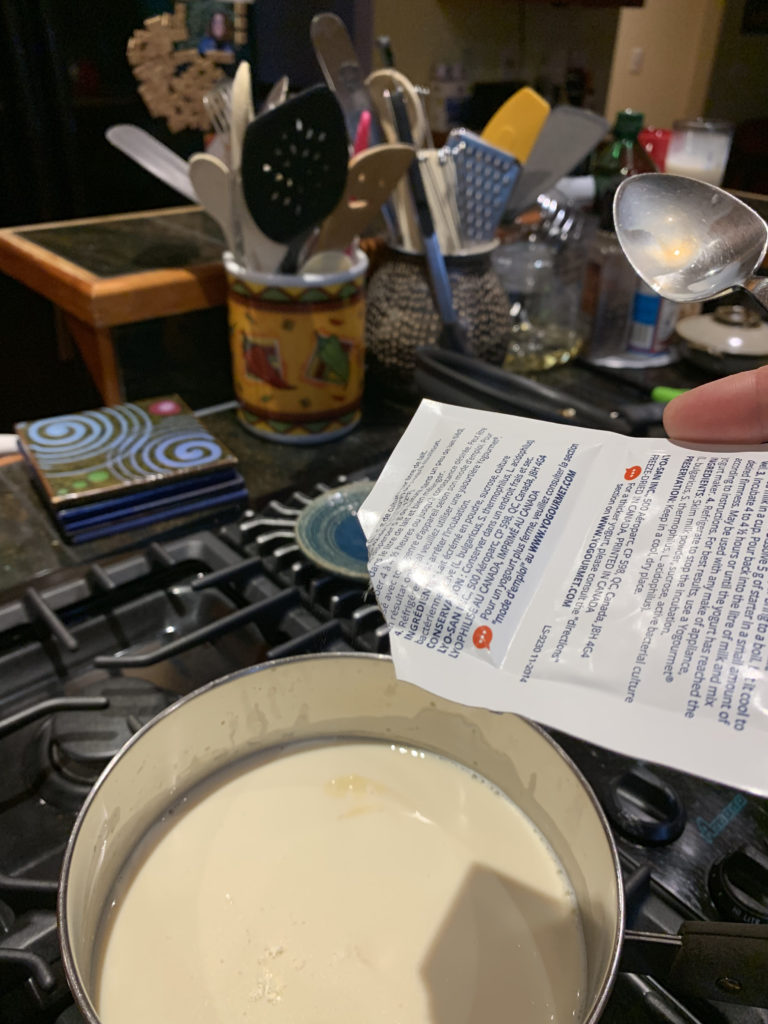
Pouring in the Yogourmet SLOWLY. Really you should be stirring this at the same time, but I couldn’t pour, stir, and take this photo all at once.
Note: I have not tried using previous yogurt as starter – not recently anyway. I tried it one time and it didn’t work so I’ve been reluctant to try again.
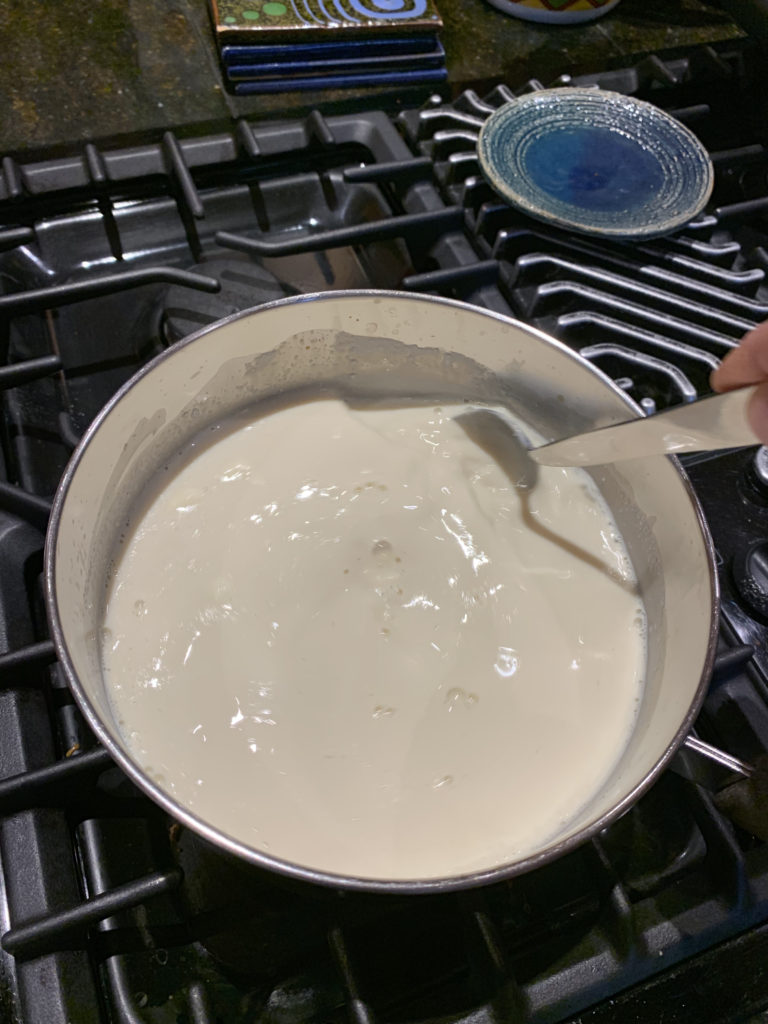
Stir well until you can’t see any of the starter.
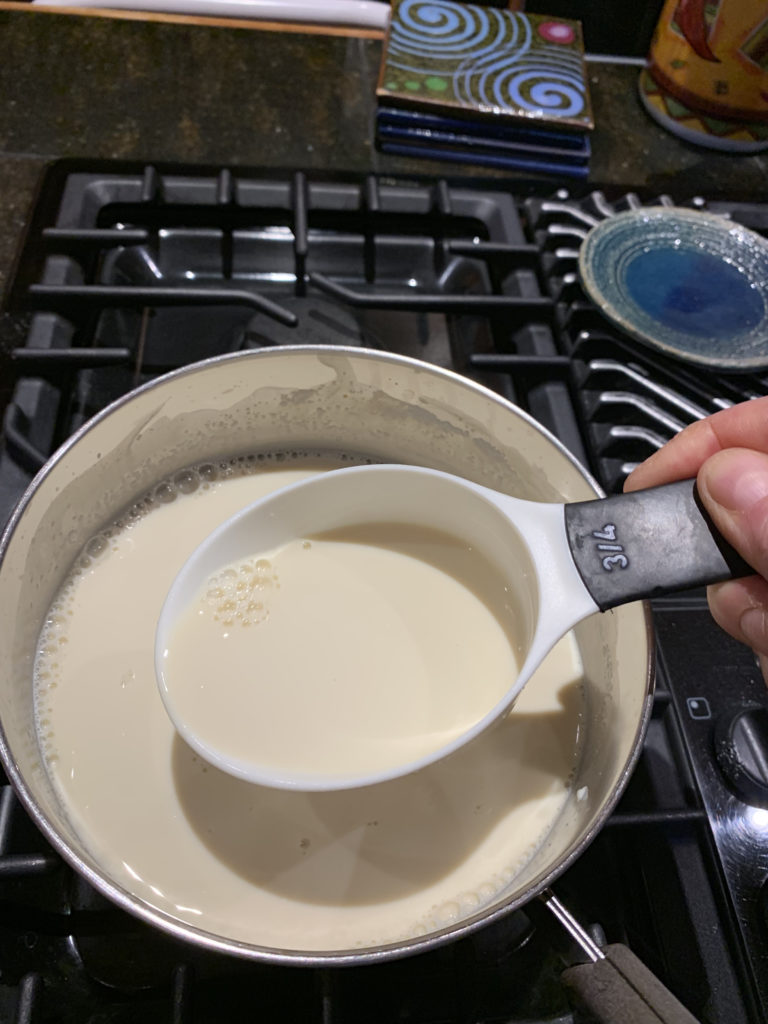
Scoop… 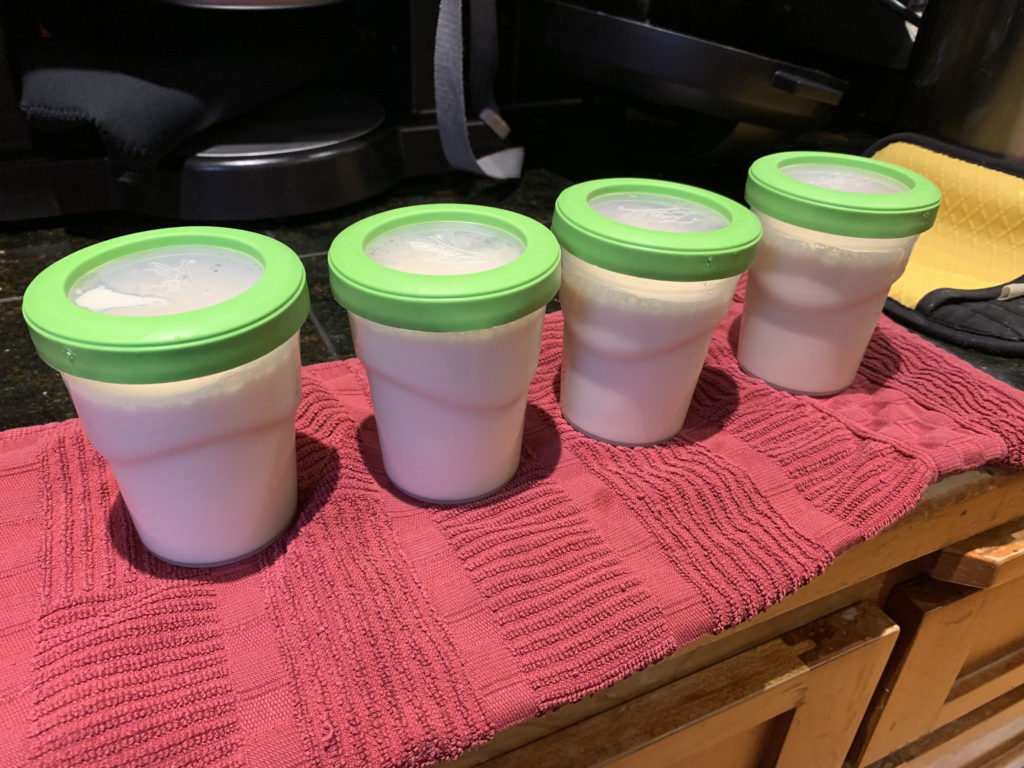
And pour into the jars
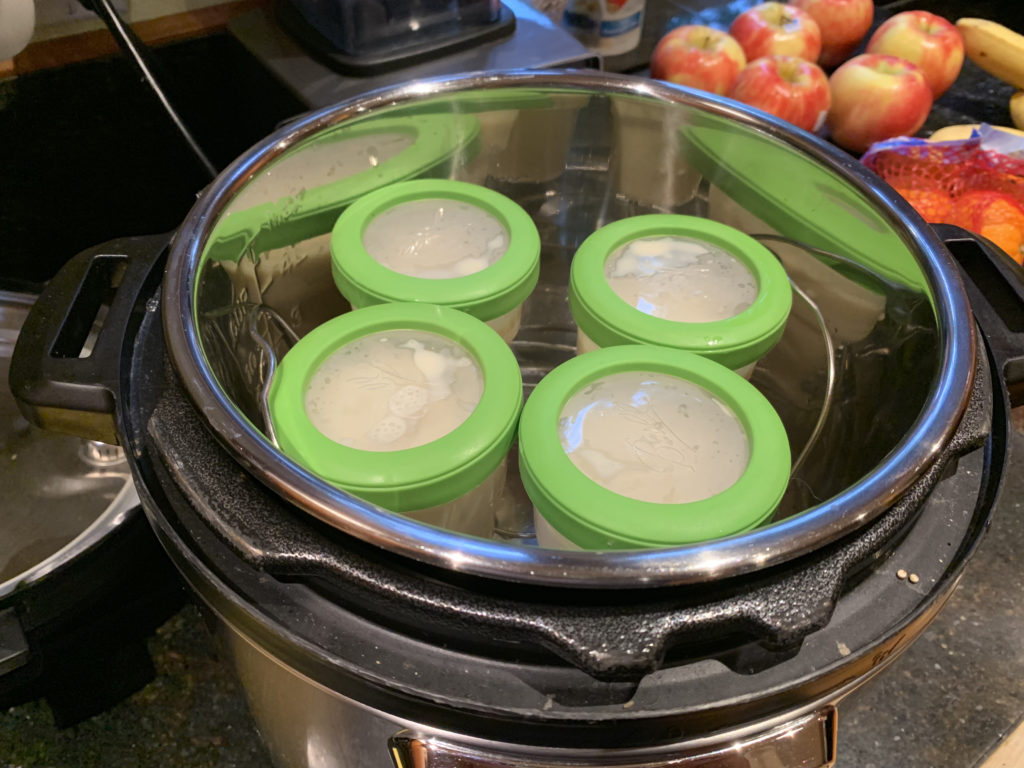
Place the jars into the “proofer” of your choice – here my Instant Pot. If you use a crock pot, put the jars into the warm water, cover, and cover with a towel to keep it warm while it’s incubating.
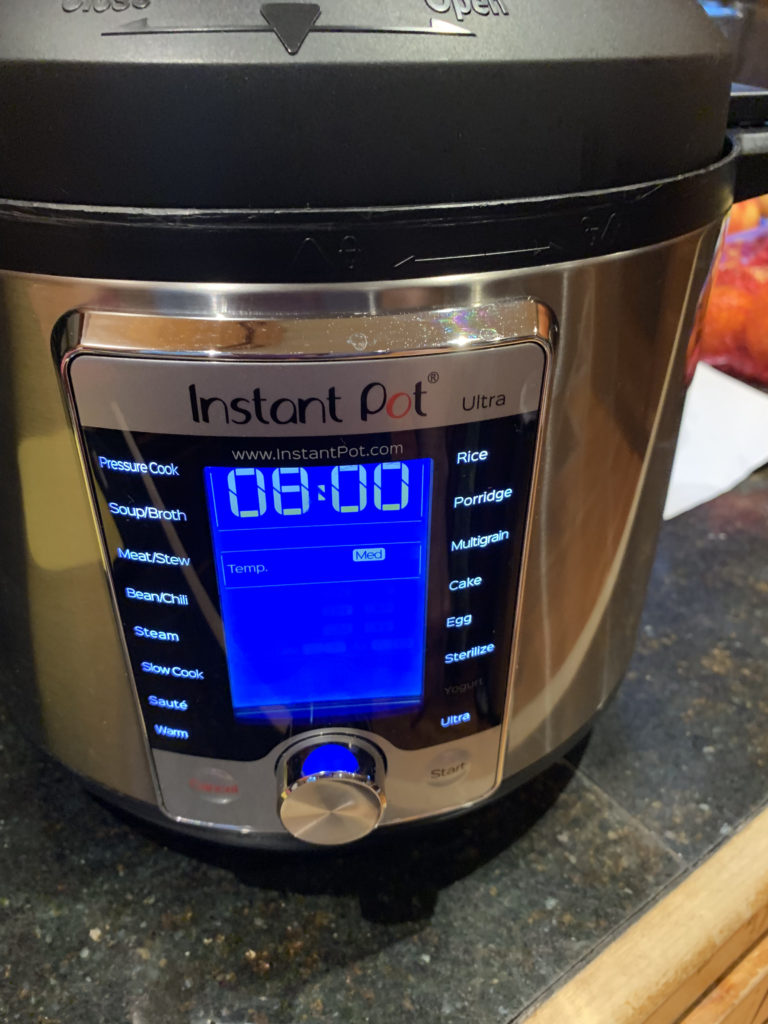
The instant Pot has a cool yogurt setting – I leave it at the default.
I let it run anywhere from 5-8 hours (overnight). When I open it up I tilt it to make sure I’ve successfully “yogurted”. (We’ve actually started calling it “yogting” because “yogt” is what the Instant Pot says when it’s done.
Put the yogurt in the fridge to cool!